Can you believe I've been away from this blog for 28 days. That's practically a month. I'll start off with an apology - I don't know where that time has gone. I've spent that last 28 days juggling work, school, exams and socialising with friends so this blog got a bit neglected. I'm going to try harder to keep it up from now on.
Anyway as my apology I've got a diy for you today! I dont think I've done a step by step diy for at least four months so it's long over due!
This is a vision board that I've built from scratch using balsa wood and some twine - the idea is to peg things all over the mesh grid.
It's really simple to make and here's a step by step to show you how.
you will need
balsa wood (90 x 5 cm) // ruler // tape // copper paint // scissors // twine // x-acto knife // measuring tape // glue gun
step 1 //
cut your pieces of balsa wood using the x-act knife.
You need two 50 x 2.5 cm pieces and two 40 x 2.5 cm
You then want to use a protractor and miter the corners. Remember make each angle 45˙ so that they slot in well later
step 2 //
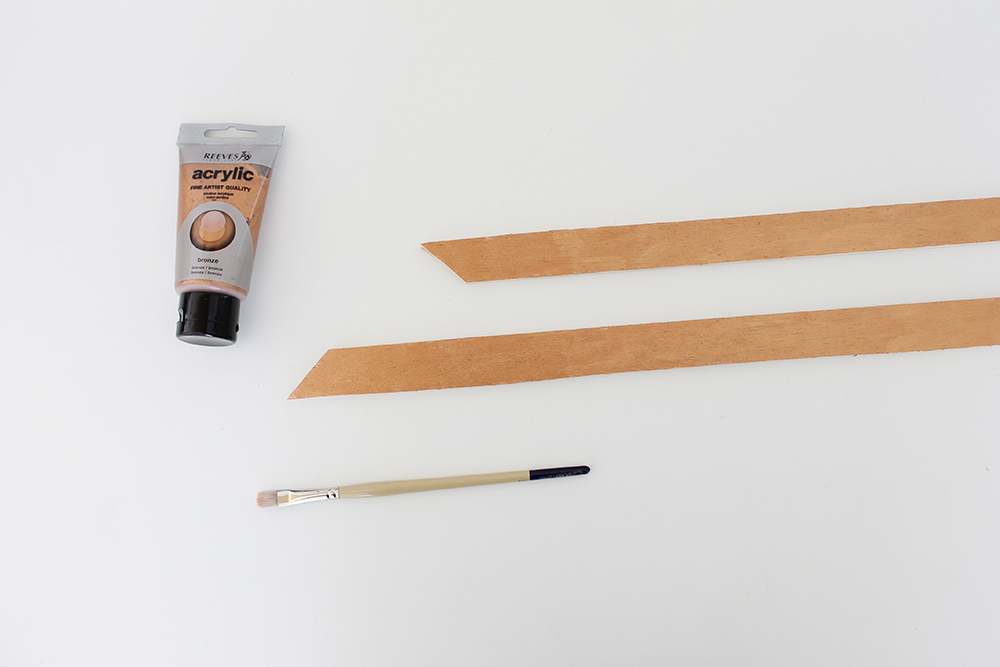
Paint your pieces of balsa wood in your choice of colour. I chose this copper paint because who doesn't like copper!
step 3 //
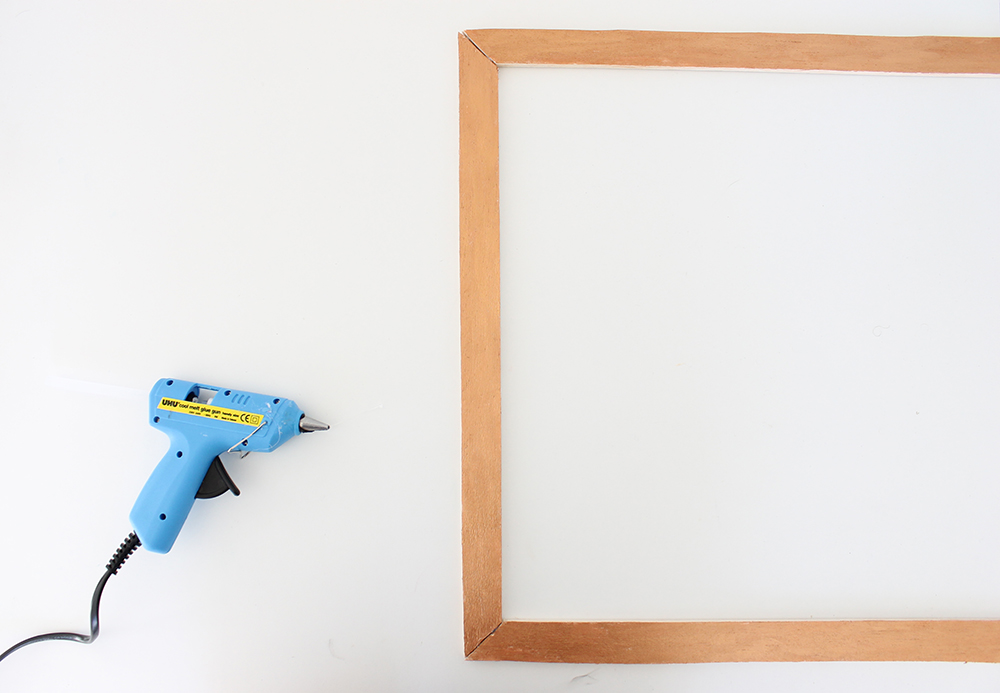
Glue your frame together. You want your two smaller pieces on the side and the longer at the top and bottom. Use the glue gun to put the mitred pieces in together.
step 4 //
Start placing string across the back of your frame and secure with the tape either side. Place your string at 3 cm intervals.
step 5 //
Now place string across the other way of your frame to form a grid. Also place these at 3 cm intervals so that you have a perfect square grid
step 6 //
Turn your frame over and start pegging things onto the twine. So not to put too much pressure on each piece of twine, try and peg your items on a cross over.
There you go. An easy vision board that you can make with just supplies at home!
see you soon
harri x


love it!! i'm considering making something like it for my room but I have so many things on my walls I think it will look too bust >.<
ReplyDeleteThis is so lovely! Thank you for sharing, I'd never think to make something like this myself but it looks so easy. x
ReplyDeletenueyork.blogspot.com
i like this post because it's a more unconventional DIY! often we just use corkboard and never mesh, let alone one made on our own. {or maybe it just me?!!} hope to see more posts from you soon!
ReplyDeletexx, roxanne
www.themagicalcanopy.wordpress.com
This is a great idea! Thanks for the tutorial :)
ReplyDeleteThis is so cute! I'm so going to make this for my room :D
ReplyDelete~Noor
SO perfect! I hope to try it in my new room. :) :) xxx
ReplyDeleteThis is SO cute Harri! and I love how simple it is! You probably could even make it with a really stiff cardboard (two layers of it) and it would still look pretty good! I reckon I will end up making this!
ReplyDeleteGeorgina x
Love the idea!! It looks so simple but so functional and cute at the same time!!
ReplyDeleteKatie // ZZ&H
Such a cute post! The mesh wall is gorgeous, I'm definitely trying that out :)
ReplyDeleteBridget xx
Westcoasttstyle.blogspot.com
Your DIYs are always so amazing! Even I as a person who usually doesn't fancy them can't help but be intrigued :)
ReplyDeleteEmily | Lynde Avenue
This would be so great for assessment notifications! I love this! Am totally going to make it in the holidays. Hope the exams went well xx
ReplyDeleteSavannah // www.zolablog.com