
You've probably always noticed that I love calligraphy and any handwritten design and have spent so much time perfecting my handwriting for different styles and occasions. I even wrote a post here about finding your own handwriting style.
Anyway, I've never atually owned a brush/calligraphy pen so all of my handwriting has been done with a one thickness permanent marker or Artline Pen. Plus I've recently been using my new Wacom tablet to do my graphic design elements on my computer and the touch sensitivity is amazing!
So today I thought I would share with you my handwriting tools and how to create calligraphy without a special pen because it's possible and just takes practice!

I don't really have a specific pen that I always use for handwriting - and most of my special handwriting is used online so I use my tablet. I have the biggest selection of pens you've ever seen and we would probably all die before I got through them all.
So these pens are quite general but I use them all for different handwriting and accents.
Ballpoint Pen - I just use a standard slim pen from Kikki.K (only my favourite brand) for any quick or long lengths of handwriting. These pens are really easy to use and your hand won't get sore when writing lots. It doesn't make the nicest marks but it's really dark and is not too thin.
Fine line Pen - This is the inky version of a ball point pen which I just love writing with so much! I'm currently using an Artline 200 0.4 tip but I've used many others such as Staedtler and Stabilo and I recommend them all! I also do many of my pen drawings with a fineline pen.
In terms of calligraphy they are great for touch ups and adding thinner aspects of the lettering as a thicker pen can't always give the right look for the softer strokes.
Permanent Marker - A thick marker, which in this case I use a Sharpie is the base of any calligraphy as you need a thicker base for any calligraphy
Gel Pen - I don't love gel pens - mainly because I have the worst pen grip and smudge everything! But gel pens are really fine and are good for adding in small details or patching up areas of writing.

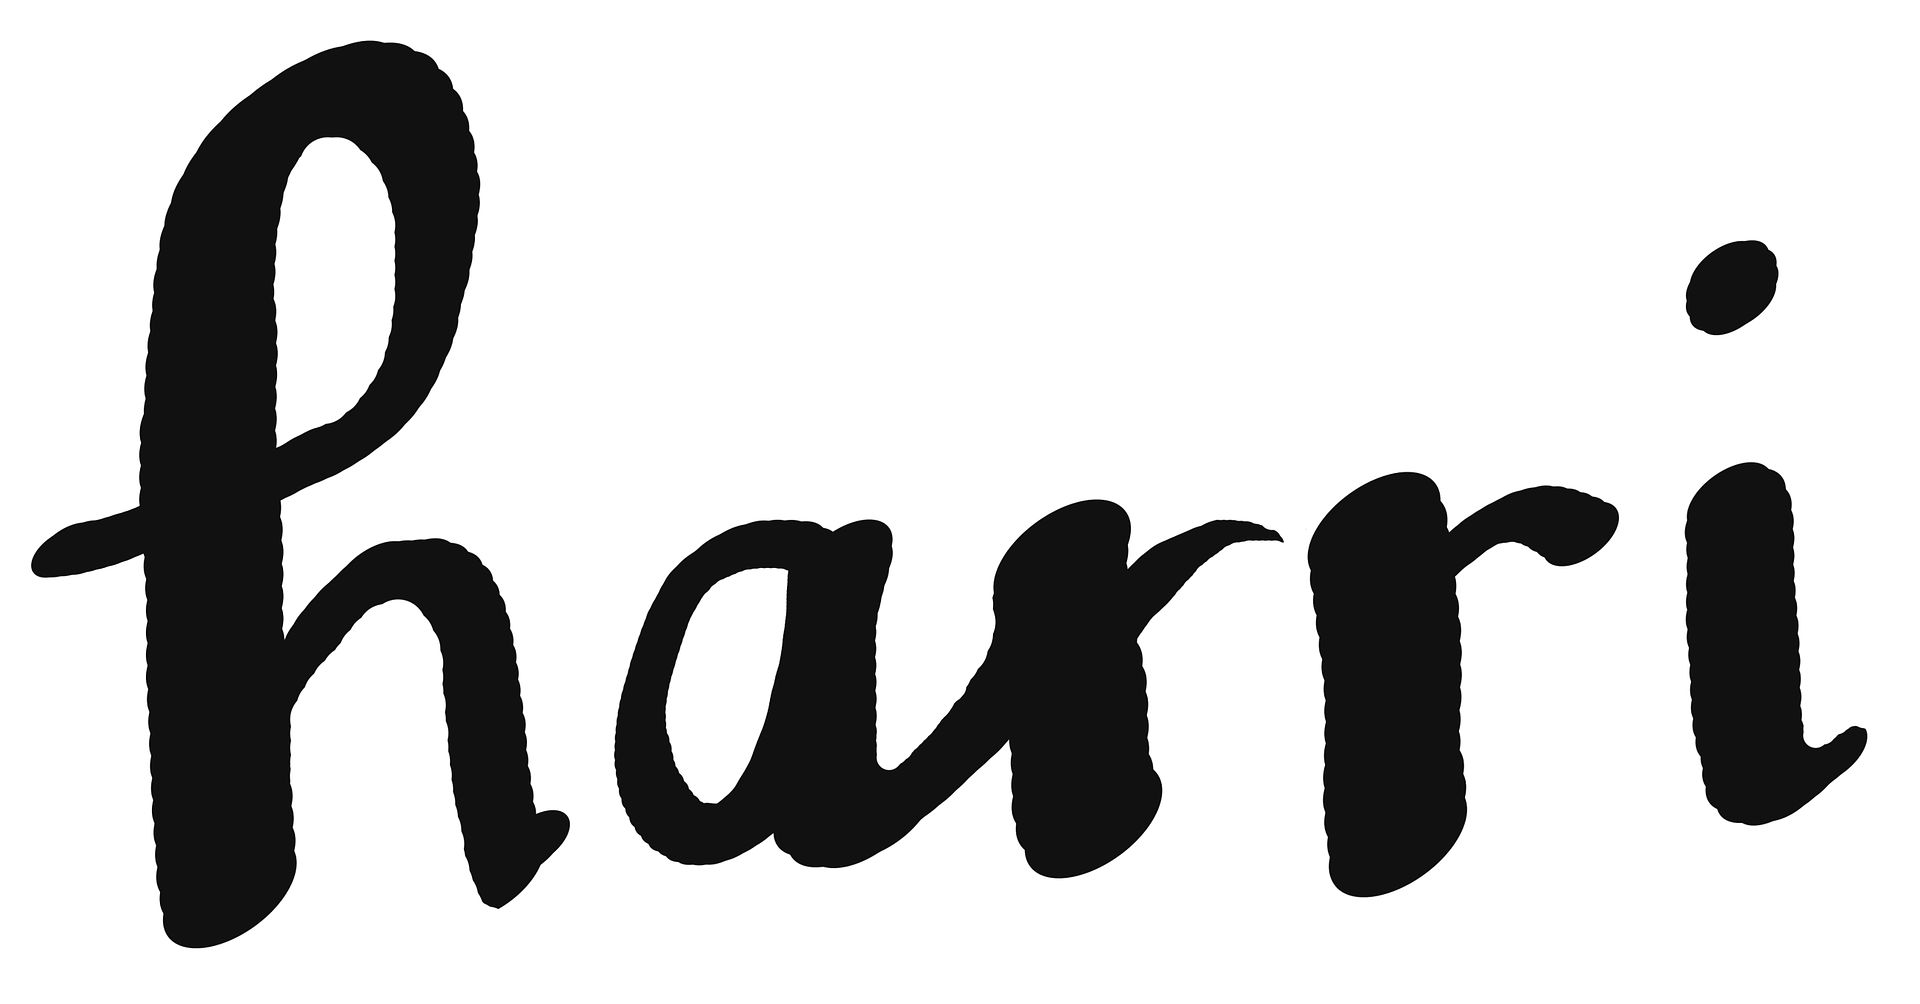
Now onto my actual calligraphy tips. To achieve the thin and thick sort of calligraphy you have to think about the natural flow of a pen and what parts you naturally put more pressure on. You'll find that the thicker bits are the downstrokes so when you write out your word, double or triple the thickness of your line with the sharpie and write the thin lines with either the bare sharpie tip or one of the finer pens.
That's it really, it just takes practice but maybe this post will get you started. Oh and when you are perfect at calligraphy, how about you make your own font with it for use on your computer!
H x
No comments:
Post a Comment
Thank you for taking the time to write a comment. I read everyone and try to reply as soon as possible so check back. Hope you enjoyed this post x Harri